
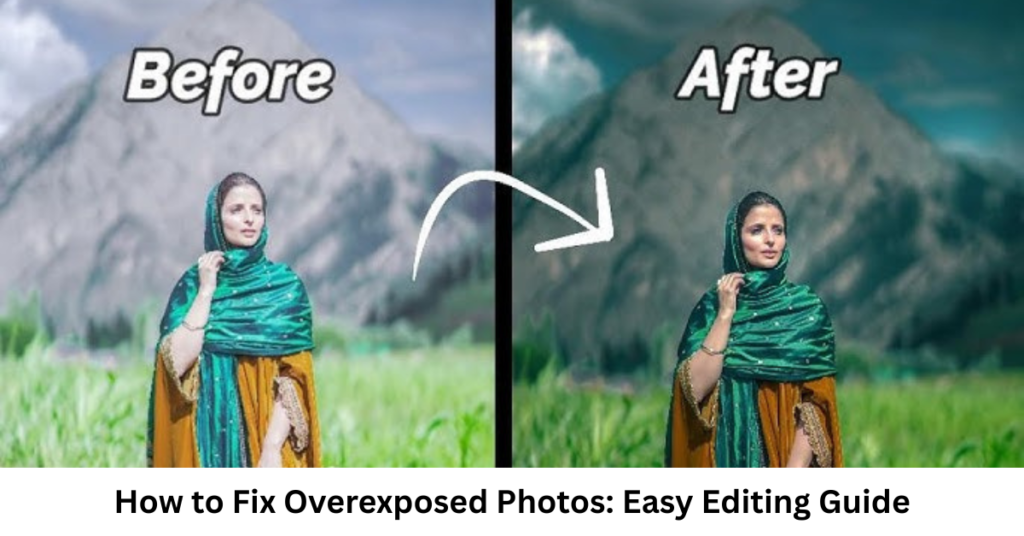
Ever taken a photo that looked perfect on your screen, only to realize later it’s completely washed out? You’re not alone. Learning how to fix overexposed photos is one of the most useful editing skills for photographers and content creators.
Overexposure happens when too much light enters the camera, causing bright areas (highlights) to lose detail. The good news? In many cases, you can recover those details using simple editing tools on your phone or software like Lightroom and Photoshop.
In this guide, you’ll learn practical, beginner-friendly methods for fixing overexposed images across different platforms.
What Causes Overexposed Photos?
Before jumping into solutions, it helps to understand the problem.
Overexposure usually happens due to:
- Too much natural sunlight or flash
- Incorrect camera exposure settings
- Low dynamic range in the scene
- Shooting in automatic mode without adjustments
When highlights are “blown out,” details in bright areas like skies or white clothing may disappear—but editing can often recover them.
How to Fix Overexposed Photos on iPhone
If you’re searching for how to fix overexposed photos on iphone, you don’t need any extra apps. The built-in Photos app is powerful enough.
Step-by-step iPhone method:
- Open the photo in the Photos app
- Tap Edit
- Adjust the following:
- Exposure → reduce slightly
- Highlights → lower significantly
- Brightness → decrease if needed
- Contrast → increase to restore depth
Pro Tip:
Don’t over-darken the image. The goal is to recover detail, not make it dull.
How to Fix Overexposed Photos in Lightroom
If you want more control, Lightroom is one of the best tools for how to fix overexposed photos in lightroom.
Quick Lightroom adjustments:
- Reduce Exposure
- Lower Highlights (most important step)
- Increase Shadows to bring back lost detail
- Adjust Whites carefully to balance brightness
- Fine-tune with Tone Curve
Advanced tip:
Use the histogram. If the right side is heavily clipped, reduce highlights until details reappear.
How to Fix Overexposed Photos in Photoshop
For professional-level editing, Photoshop gives the most control. Many users search for how to fix overexposed photos in photoshop or how to fix overexposed photos photoshop, and here’s the easiest way.
Method 1: Camera Raw Filter
- Open image in Photoshop
- Go to Filter → Camera Raw Filter
- Adjust:
- Exposure (lower it)
- Highlights (reduce heavily)
- Whites (fine adjustment)
- Contrast (balance image)
Method 2: Levels Adjustment
- Go to Image → Adjustments → Levels
- Move the white slider slightly left
- Adjust midtones for balance
Pro Tip:
Use layer masks to fix only overexposed areas without affecting the whole image.
Extra Tips to Prevent Overexposed Photos
Fixing is good—but preventing is better.
- Shoot in manual mode when possible
- Use exposure compensation (-EV) in bright light
- Avoid direct harsh sunlight at midday
- Check your histogram while shooting
- Tap and hold focus on smartphones to lock exposure
FAQs: How to Fix Overexposed Photos
1. Can overexposed photos be fully fixed?
Not always. If details are completely blown out (pure white), they cannot be fully recovered, but mild overexposure can often be corrected.
2. Which app is best for fixing overexposure?
Lightroom is considered the most powerful, while iPhone Photos app is best for quick fixes.
3. Why do my photos keep getting overexposed?
It’s usually due to automatic camera settings, strong lighting conditions, or incorrect exposure control.
4. Is Photoshop better than Lightroom for fixing exposure?
Photoshop offers more advanced control, but Lightroom is faster and easier for most users.
5. Can I fix overexposed photos without losing quality?
Yes, if edits are done carefully. Avoid extreme adjustments to maintain natural quality.
Conclusion
Learning how to fix overexposed photos is a game-changer for improving your photography. Whether you’re using an iPhone, Lightroom, or Photoshop, small adjustments like lowering highlights and correcting exposure can dramatically improve your images.
The key is balance—recover detail without making the image look flat or unnatural. With a bit of practice, you’ll be able to rescue most overexposed shots and turn them into visually appealing photos.
If you’re serious about improving your editing skills, start experimenting with these tools and observe how small changes can make a big difference.