If you have ever pressed the shutter and ended up with a blurry photo, you are definitely not alone. Learning how to fix shaky hands photography is one of the most useful skills for anyone who wants sharper pictures, whether you are using a phone, DSLR, or mirrorless camera. The good news is that shaky hands do not mean bad photos forever. With the right technique, a few smart settings, and a little practice, you can get clear, crisp results much more often.
Hand shake usually becomes a problem in low light, when your shutter speed is too slow, or when you are holding the camera in a tense way. In this article, we will look at simple, practical ways to reduce blur and improve your stability without making photography feel complicated.
Why Shaky Hands Cause Blurry Photos
When your hands move even slightly while the camera is taking a picture, that movement can show up as blur. This is especially noticeable in photos taken with slower shutter speeds because the camera stays open longer and has more time to capture the motion.
A few common reasons this happens include:
- Shooting in dim light
- Using a long zoom lens
- Holding the camera too tightly
- Standing in an unstable position
- Relying on automatic settings that choose a slow shutter speed
The issue is not always your hands alone. Sometimes the real cause is the camera setup, the light, or the way the shot is taken.
How to Fix Shaky Hands Photography the Right Way
1. Use a Faster Shutter Speed
One of the most effective ways to reduce blur is to increase shutter speed. A faster shutter freezes motion better, so even small hand movements become less visible.
A helpful rule is:
- For standard shots, try at least 1/125 sec
- For telephoto lenses, go even faster
- For moving subjects, use a speed that is high enough to freeze both your hands and the subject
If your camera is in auto mode, it may still choose a slower shutter than you want. Using shutter priority or manual mode gives you more control.
2. Hold the Camera the Stable Way
A big part of steady photography is body position. Good posture makes a real difference.
Try this:
- Stand with your feet shoulder-width apart.
- Keep one foot slightly ahead of the other.
- Tuck your elbows close to your body.
- Hold the camera with both hands.
- Press the viewfinder or camera against your face for extra support.
Avoid holding your arms out in front of you too far. That creates more movement and makes the camera harder to control.
3. Breathe Before You Press the Shutter
This sounds simple, but it helps a lot. Take a breath, exhale gently, and press the shutter at the end of the exhale. That small pause reduces body movement right when the photo is taken.
Many photographers do this naturally because it creates a calmer shooting rhythm. It is a tiny habit that can improve sharpness more than you expect.
4. Support Your Camera Against Something
If your hands are shaky, use the environment to help you. A wall, table, railing, car door, or even the floor can give your camera more stability.
Here are a few easy support ideas:
- Rest your elbows on a table
- Lean against a wall
- Place the camera on a bag or book
- Use a railing for outdoor shots
- Kneel and rest one elbow on your knee
This is especially useful when you are shooting indoors or in low light.
Camera Settings That Help Reduce Shake
5. Turn On Image Stabilization
Many lenses and cameras have image stabilization, sometimes called IS, VR, OSS, or IBIS depending on the brand. This feature helps reduce the effect of small hand movements.
It is especially useful when:
- You are using a zoom lens
- You are shooting in low light
- You do not have a tripod
- You need to shoot handheld for travel or everyday photos
Image stabilization is helpful, but it is not magic. It helps with hand shake, not with subject motion, so a moving person may still blur if the shutter speed is too slow.
6. Increase ISO When Needed
If the light is poor, your camera may use a slower shutter speed to balance exposure. Raising ISO lets the camera use a faster shutter speed instead.
A higher ISO can add noise, but a slightly noisy sharp photo is usually better than a clean blurry one. It is better to get a usable image first and worry about noise reduction later.
7. Use Burst Mode
Burst mode, or continuous shooting, can improve your chances of getting one sharp frame. When you take several shots in a row, one of them is often steadier than the rest.
This works well for:
- Portraits
- Street photography
- Event photography
- Any situation where hand movement is hard to control
Do not overdo it, though. The goal is not just more photos; it is more chances at a sharp one.
Gear That Can Make a Big Difference
8. Use a Tripod or Monopod
A tripod is the most reliable way to stop camera shake. If you photograph often, especially in low light or during long exposures, it is one of the best tools you can own.
A monopod is more mobile and gives partial support. It is useful when you want stability but still need to move around quickly.
9. Try a Smaller or Lighter Camera Setup
Heavy cameras can sometimes feel more stable, but they can also become tiring to hold for long periods. If your hands get tired, fatigue can make shaky shots worse.
A comfortable grip matters. If a camera feels awkward, your hands naturally tense up. That tension can lead to more movement.
10. Use a Remote Shutter or Timer
Even if your hands are shaky while pressing the button, a remote shutter or self-timer can remove that final movement. This is especially helpful for still scenes, portraits, and tripod shots.
A two-second delay can be enough to let the camera settle before the photo is taken.
Shooting Habits That Improve Sharpness
11. Shoot in Better Light When Possible
Good light helps your camera use a faster shutter speed. That alone can solve a lot of blur problems.
Natural daylight is often easiest, but even moving closer to a lamp or brighter window can help. In low light, cameras struggle more, and shaky hands become much more visible.
12. Avoid Digital Zoom on Phones
If you are using a phone, digital zoom can make shake worse because it magnifies both the subject and your movement. Instead, move closer when possible.
If you cannot move closer, try taking the photo normally and crop later if needed.
13. Clean Up Your Shooting Technique
Sometimes the issue is not the camera at all. It is the habit of rushing.
Slow down a little and try this:
- Frame the shot carefully
- Hold still for a second before pressing the shutter
- Focus first, then shoot
- Avoid twisting your body while taking the photo
These small changes can make a noticeable difference.
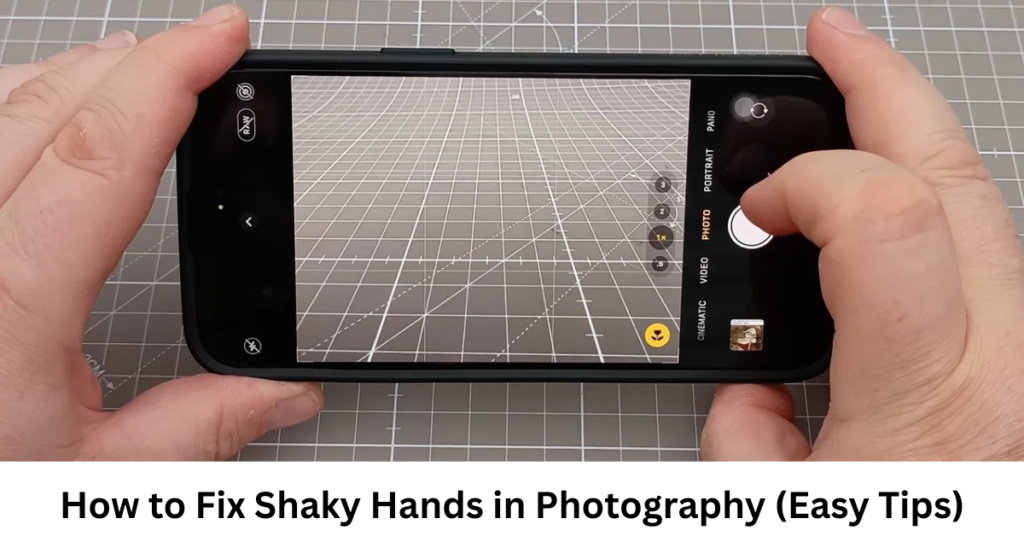
How to Fix Shaky Hands Photography on a Phone
Phone cameras can be very good, but they are also easy to shake because they are small and light. To improve results on a phone, keep both hands on the device and brace your elbows against your body.
Also try:
- Turning on the phone’s stabilization features
- Using night mode carefully
- Avoiding zoom unless necessary
- Holding the phone steady for a moment after tapping the shutter
- Using burst mode for moving scenes
Phones are especially sensitive in low light, so lighting matters even more here.
How to Fix Shaky Hands Photography in Low Light
Low light is where shaky hands show up the most. Your camera often slows the shutter down to let in more light, and that creates blur if you move.
To handle this situation better:
- Raise ISO
- Open the aperture wider if your lens allows it
- Use a faster lens
- Turn on stabilization
- Use a tripod whenever possible
- Add extra light instead of relying only on camera settings
Low-light photography is a balance between brightness and sharpness. In many cases, it is better to increase ISO slightly than to let shutter speed drop too far.
When Shaky Hands Might Be a Health Issue
Sometimes camera shake is not only about technique. If your hands tremble often in daily life, or if the shaking is new, strong, or getting worse, it may be worth paying attention to. Temporary things like caffeine, fatigue, stress, or dehydration can make shaking more noticeable.
This article is about photography, but if hand tremor affects daily activities too, a healthcare professional can help determine the cause. Photography tips can reduce blur, but they do not replace medical advice.
Practical Checklist for Sharper Photos
Before you shoot, quickly check this:
- Is the shutter speed fast enough?
- Are your elbows tucked in?
- Is image stabilization on?
- Is the light strong enough?
- Can you brace against something?
- Are you breathing steadily?
- Would burst mode help here?
A quick checklist like this can save a lot of frustrating retakes.
Common Mistakes to Avoid
Many blurry photos happen because of easy-to-fix mistakes.
Avoid these:
- Holding the camera with one hand
- Shooting too slowly in low light
- Forgetting to stabilize your body
- Zooming in too much without support
- Assuming image stabilization will fix everything
- Ignoring motion from the subject
The best results usually come from combining good technique with smart settings, not relying on just one solution.
FAQs
Why do my photos look blurry even when I hold the camera still?
Even tiny movements can blur a photo if the shutter speed is slow. Low light, zoom lenses, and subject movement can also cause blur.
What shutter speed is best for shaky hands?
A common starting point is 1/125 sec or faster for handheld shots, though you may need a faster speed with zoom lenses or moving subjects.
Does image stabilization stop shaky hands completely?
No. It helps reduce small movements, but it cannot fix every kind of blur, especially subject motion or very slow shutter speeds.
Is a tripod necessary for sharp photos?
Not always, but it is one of the best tools for reducing camera shake, especially in low light or for long exposures.
How can I take sharper photos with my phone?
Use both hands, avoid digital zoom, keep the phone steady for a moment, shoot in better light, and use burst mode when needed.
Can shaky hands be improved with practice?
Yes. Better posture, breathing, and steadier grip habits can make a real difference over time.
Conclusion
Learning how to fix shaky hands photography is really about building stability into your process. Faster shutter speeds, better posture, image stabilization, brighter light, and a steadier shooting habit can all work together to give you sharper images. You do not need perfect hands to take great photos. You just need a better system.
Start with one or two changes, then build from there. Once you get used to shooting more steadily, clearer photos become much easier and much more consistent.